 visual.af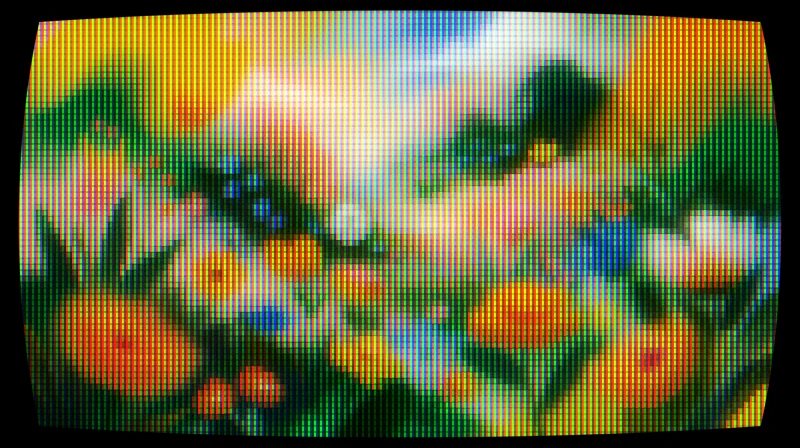
CRT for Affinity
Turns any layer into a tube screen: curvature, RGB phosphors, scanlines and bloom.
Turns any layer into characters based on its luminance. Four styles, original colors or a single ink, bloom and a transparent background, with live preview.
Free, with your Visual.af account.Your Visual.af account takes two clicks with Google.
Already have the Visual.af category? Download the .afscript and import it from that category’s ≡ menu.
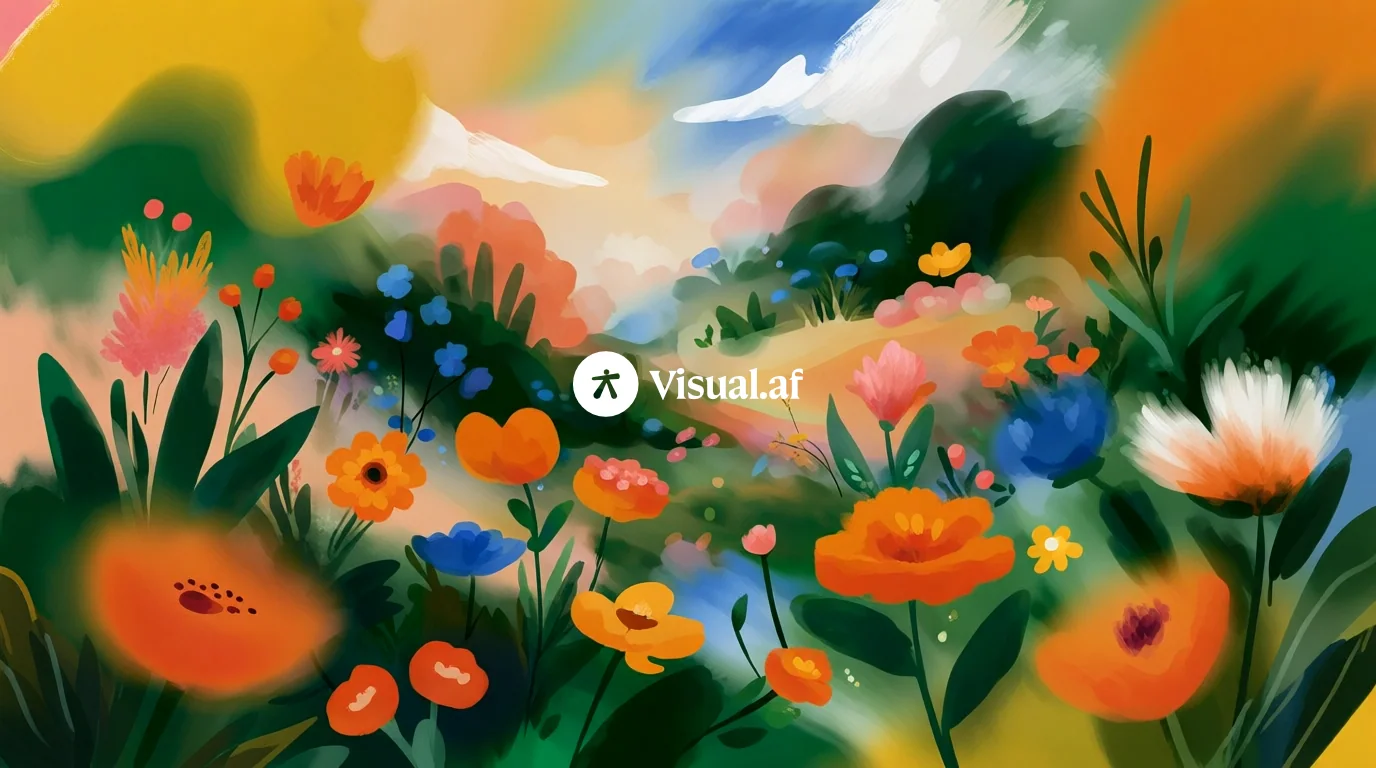
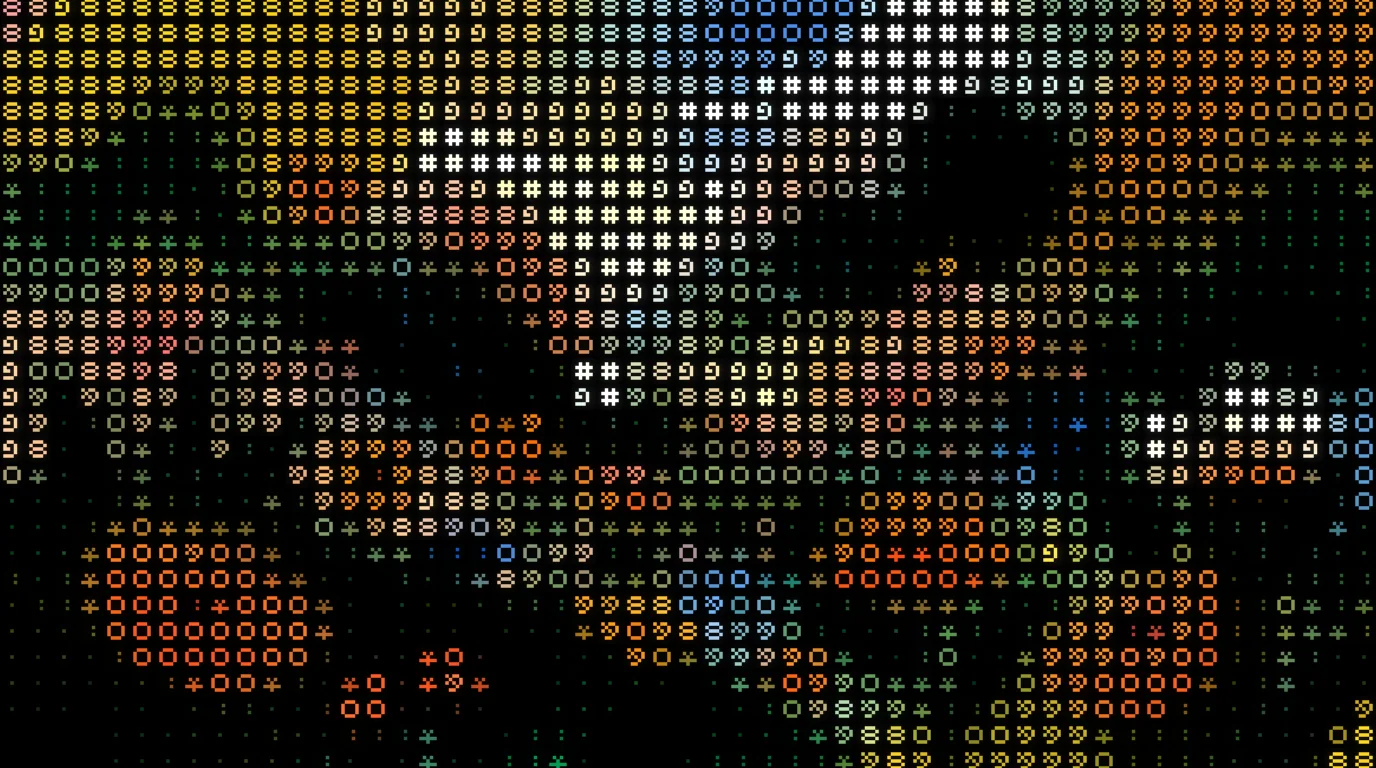 BeforeAfter
Pick one in the dialog and tweak from there. Every control can still be adjusted.
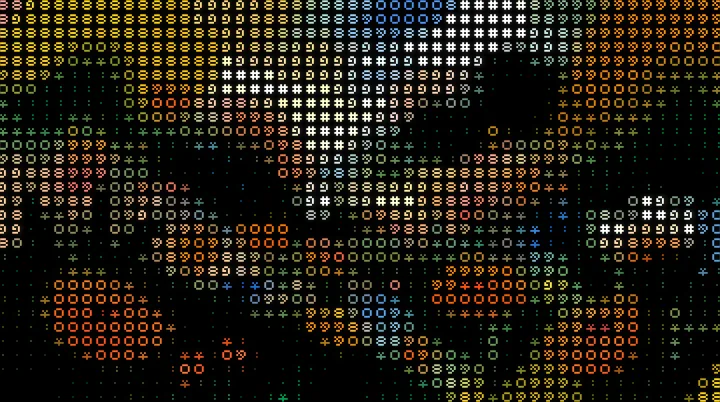
Classic characters in your image’s own colors.
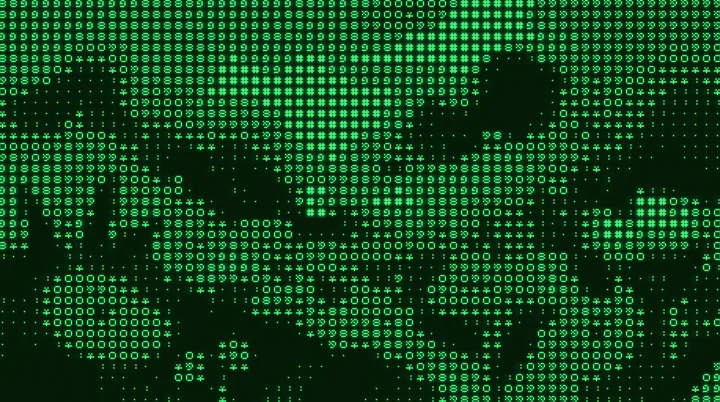
Green phosphor on black, like an old console.
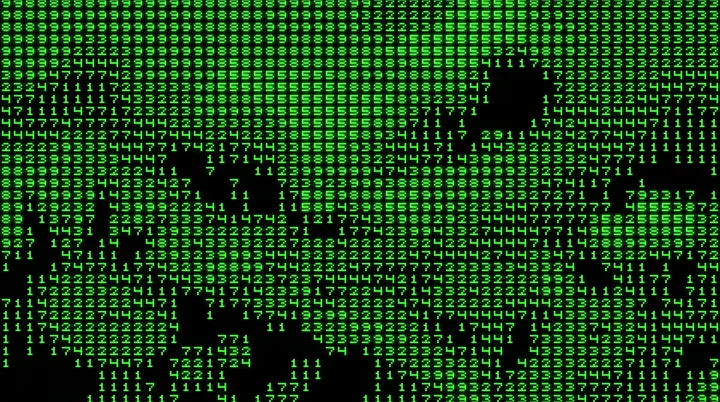
Glowing green digits.
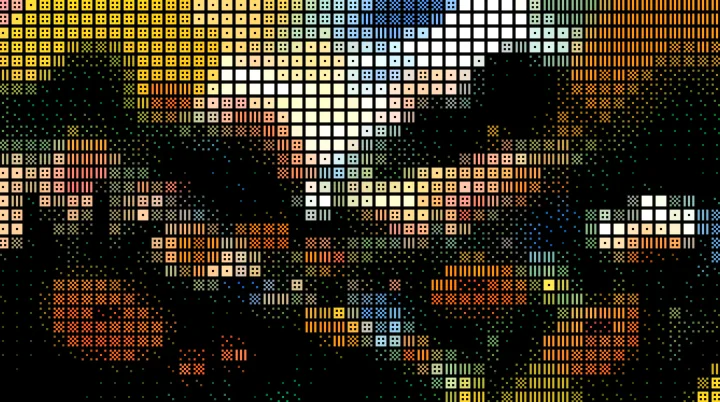
Blocks that fill up with the light, in the original colors.
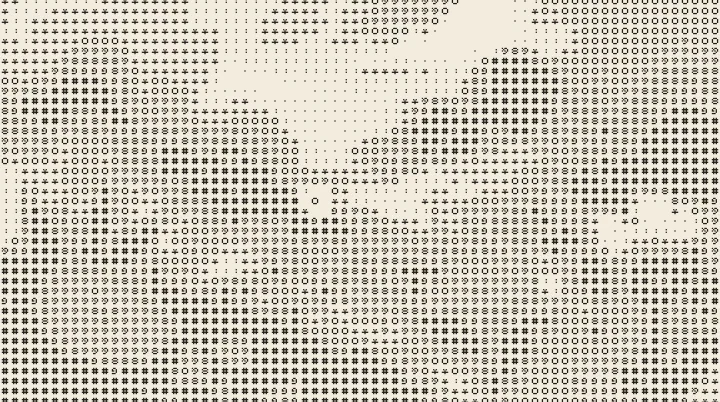
Dark ink on cream paper, with inverted luminance.
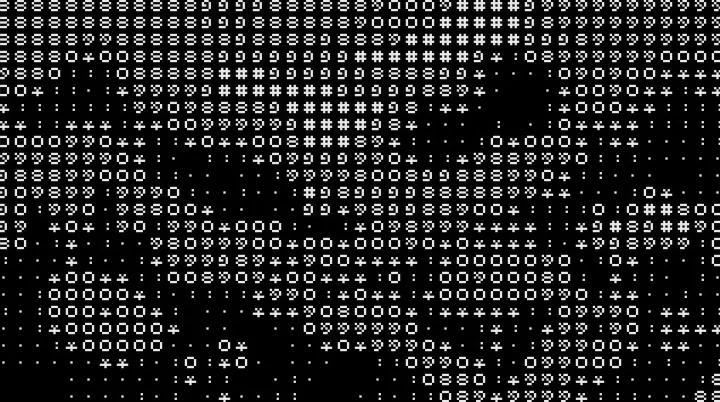
Large light gray characters on black.
The same names you see in the script’s dialog.
Install
Scripts are imported once into Affinity’s library and stay there for good, one click away.
Pick the dialog language, sign in with your account and download the .afscripts file.
Open Window › Scripting › Scripts Library. In the panel’s ▾ menu, choose Import Scripts… and select the file.
Click the script inside the Visual.af category. The first time, Affinity asks you to confirm that you trust it.
To keep it in the same category, download the .afscript and import it from the Visual.af category’s ≡ menu with Import Script…. If you import another .afscripts, Affinity creates “Visual.af 2”: drag the script into the first one and delete the second.
Affinity 3.3 or later, on Windows or macOS. The scripts don’t use the internet or touch your files: everything happens inside Affinity.
For now there are four styles: classic, blocks, digits and symbols. Each one orders its characters from least to most ink.
Yes. The script takes the selected layer exactly as it looks, whether it’s a photo, a pixel layer, a group, text or a whole artboard.
No: it’s an image layer with the characters drawn in, with smooth edges. You can scale it, recolor it with adjustments or use it as a mask.
Very fast: on social media sized images each change takes a few hundredths of a second, and on 24 megapixel photos, about half a second.
Turns any layer into a tube screen: curvature, RGB phosphors, scanlines and bloom.
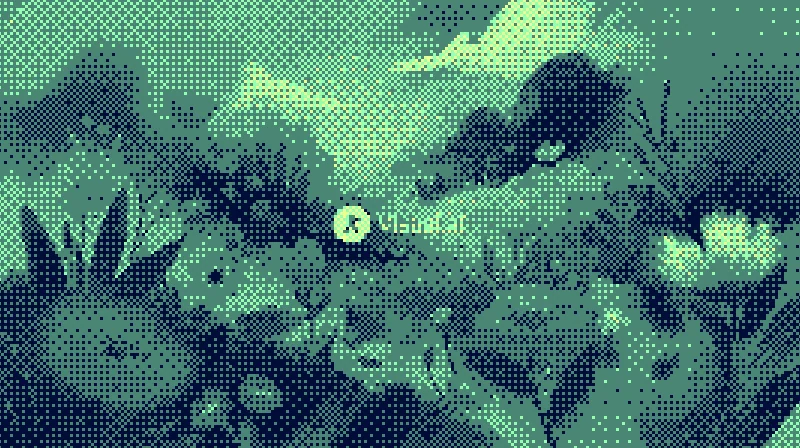
Dithers your images with Bayer matrices or random noise, in the original colors or your own palette.
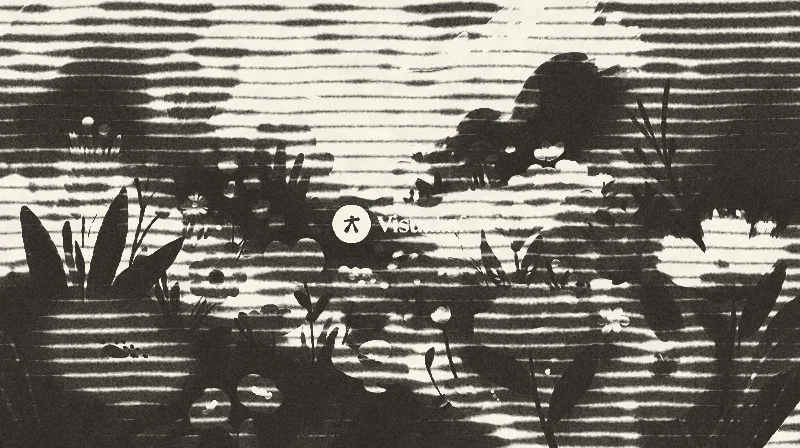
Lines of ink that bleed into the paper, with 1 to 3 inks, overprint and misregistration.