 visual.af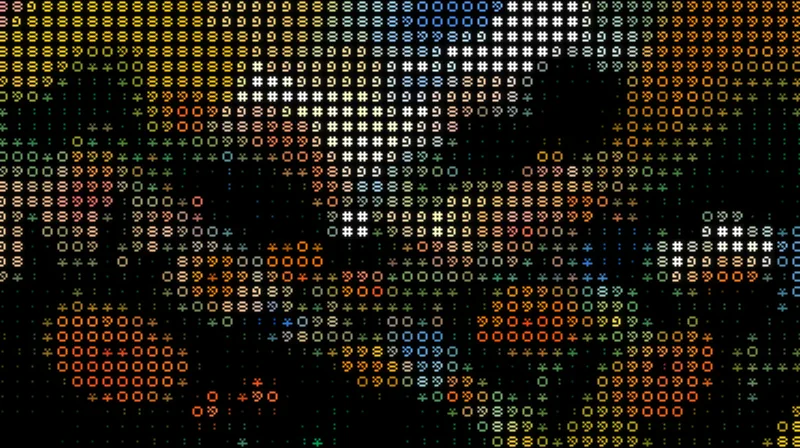
ASCII for Affinity
Turns your images into art made of characters, in their original colors or a single ink, with a transparent background.
A tube screen over any layer: curved glass, RGB phosphors, scanlines, convergence, bloom and vignette, all with live preview.
Free, with your Visual.af account.Your Visual.af account takes two clicks with Google.
Already have the Visual.af category? Download the .afscript and import it from that category’s ≡ menu.
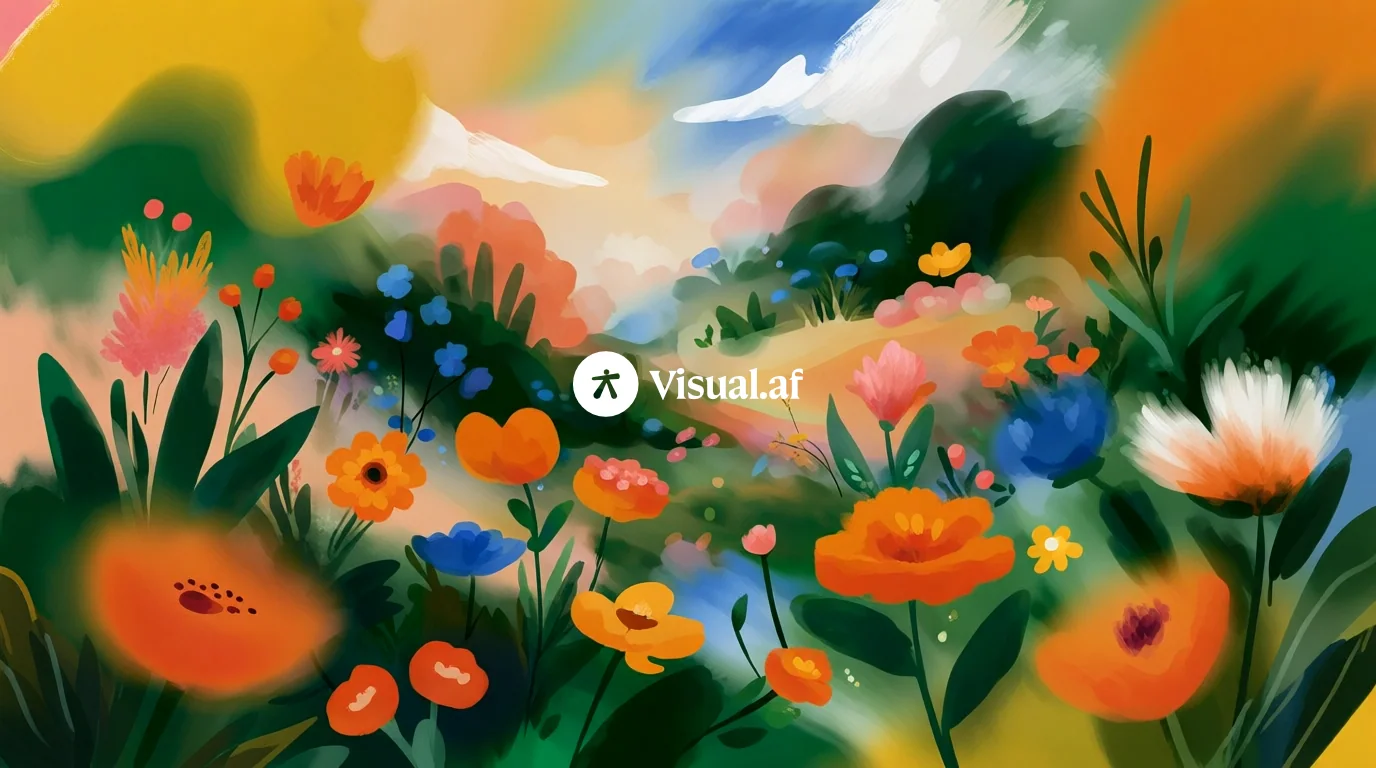
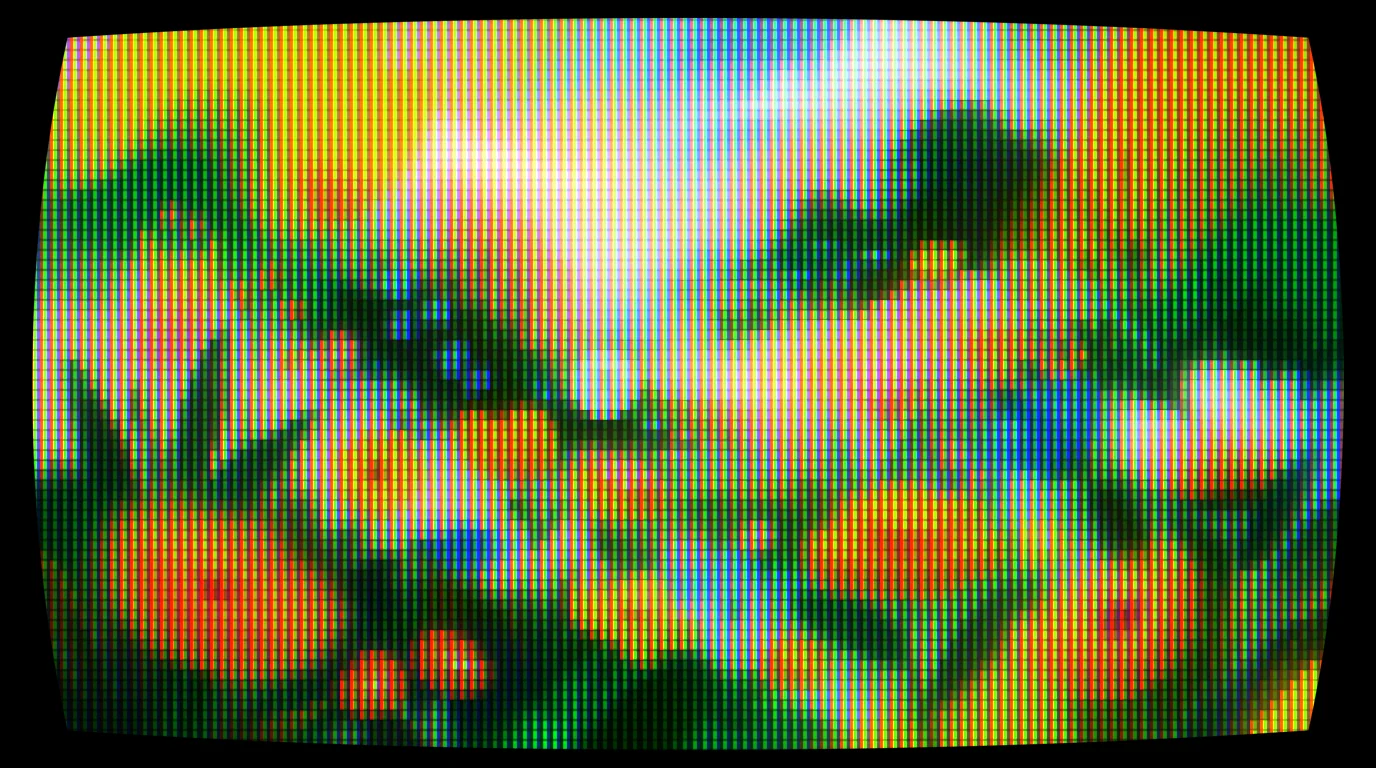 BeforeAfter
Pick one in the dialog and tweak from there. Every control can still be adjusted.
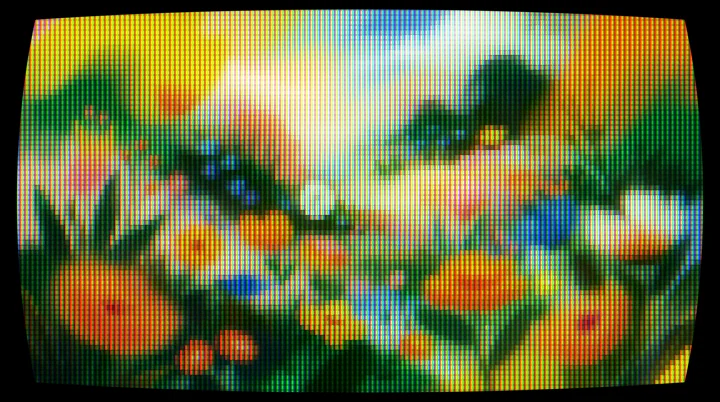
The balance of a classic monitor: gentle curvature, crisp phosphors and a touch of bloom.
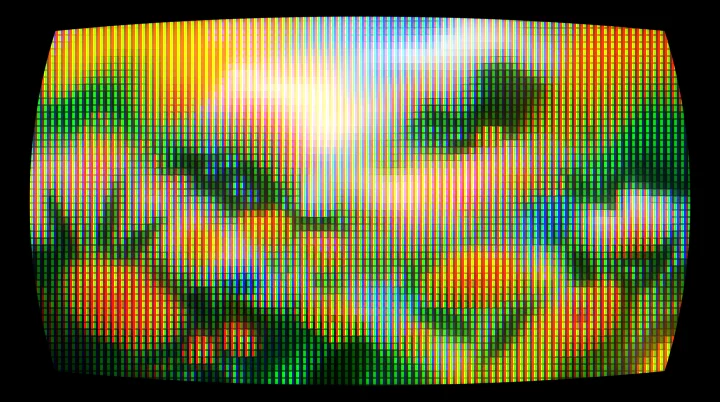
A strongly curved tube, big phosphors and an intense bloom that makes everything glow, like an arcade.
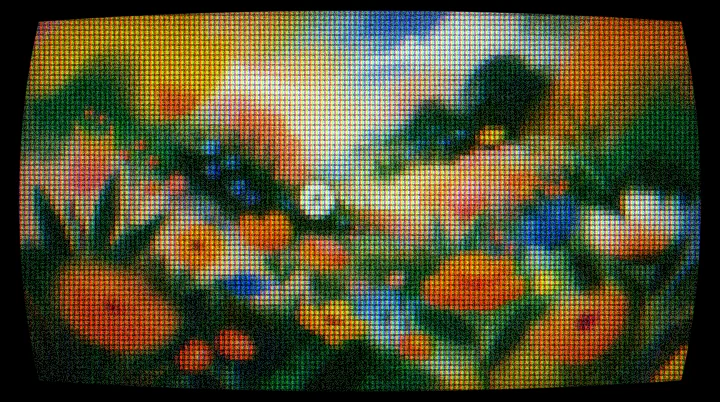
Heavy static, shifted colors, bold scanlines and dark edges: a signal slipping away.
A flat screen with no curve or vignette: just the phosphor texture over your design.
The same names you see in the script’s dialog.
Install
Scripts are imported once into Affinity’s library and stay there for good, one click away.
Pick the dialog language, sign in with your account and download the .afscripts file.
Open Window › Scripting › Scripts Library. In the panel’s ▾ menu, choose Import Scripts… and select the file.
Click the script inside the Visual.af category. The first time, Affinity asks you to confirm that you trust it.
To keep it in the same category, download the .afscript and import it from the Visual.af category’s ≡ menu with Import Script…. If you import another .afscripts, Affinity creates “Visual.af 2”: drag the script into the first one and delete the second.
Affinity 3.3 or later, on Windows or macOS. The scripts don’t use the internet or touch your files: everything happens inside Affinity.
The result is a new image layer. To change it, delete it and run the script again on the original layer, which stays intact.
Yes. The script takes the selected layer exactly as it looks, whether it’s a photo, a pixel layer, a group, text or a whole artboard.
On social media sized images each change takes about a tenth of a second. On 24 megapixel photos, around one second.
No: in Affinity the result is a still image. The rolling band and the flicker are left out; the static is applied.
Turns your images into art made of characters, in their original colors or a single ink, with a transparent background.
Dithers your images with Bayer matrices or random noise, in the original colors or your own palette.
Lines of ink that bleed into the paper, with 1 to 3 inks, overprint and misregistration.