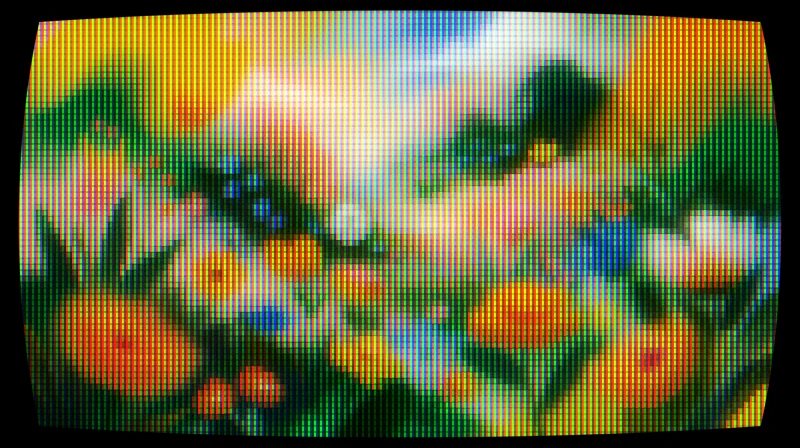
CRT
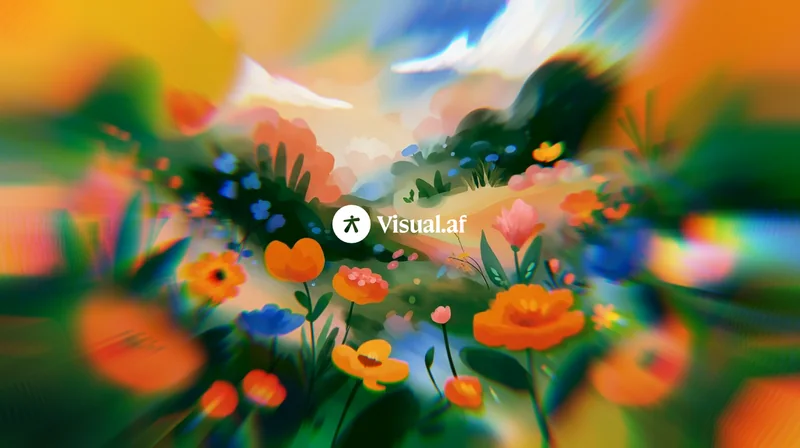
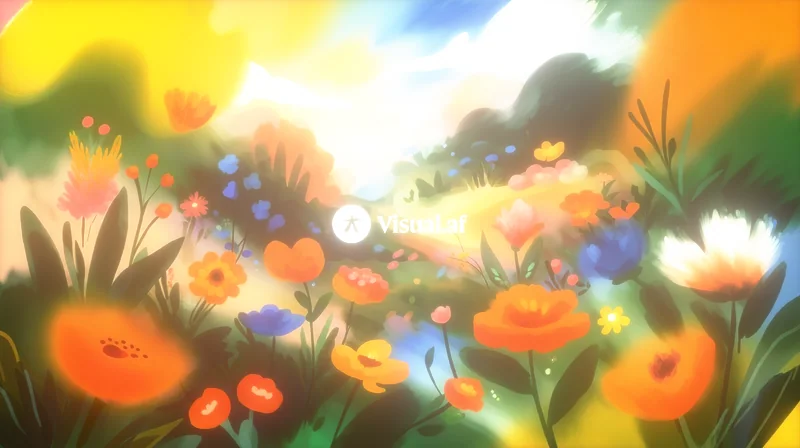
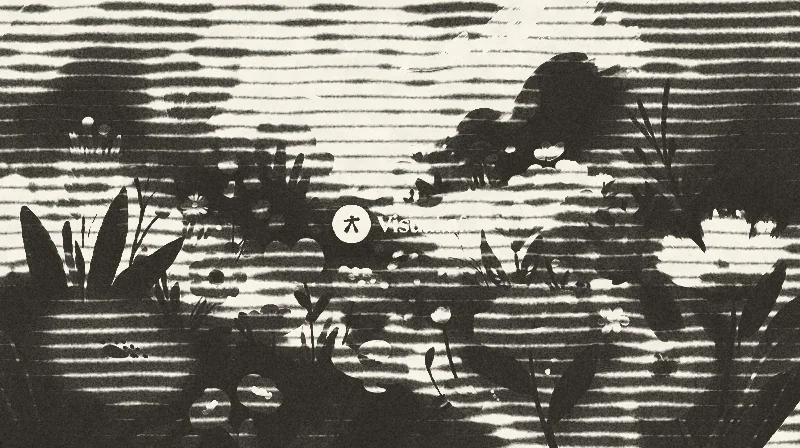
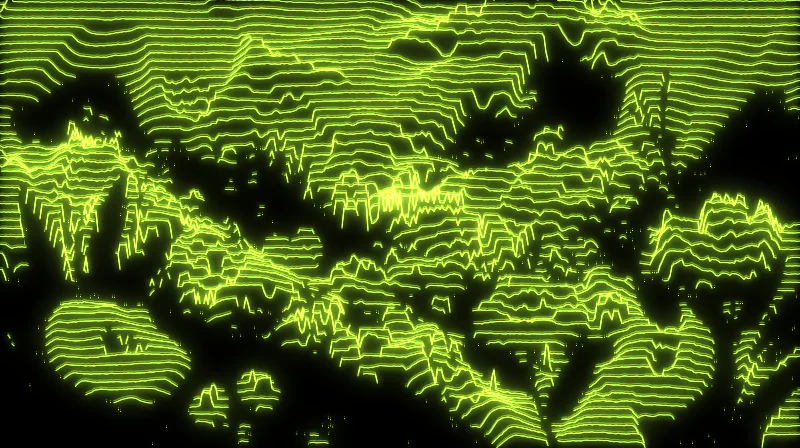
Turns any layer into a tube screen: curvature, RGB phosphors, scanlines and bloom.
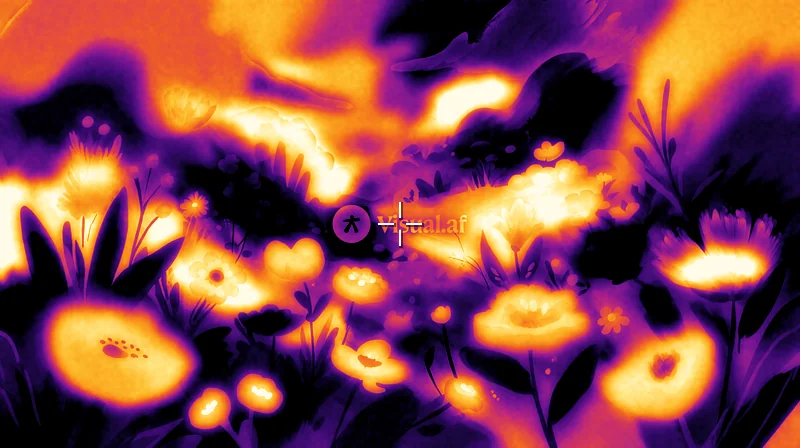
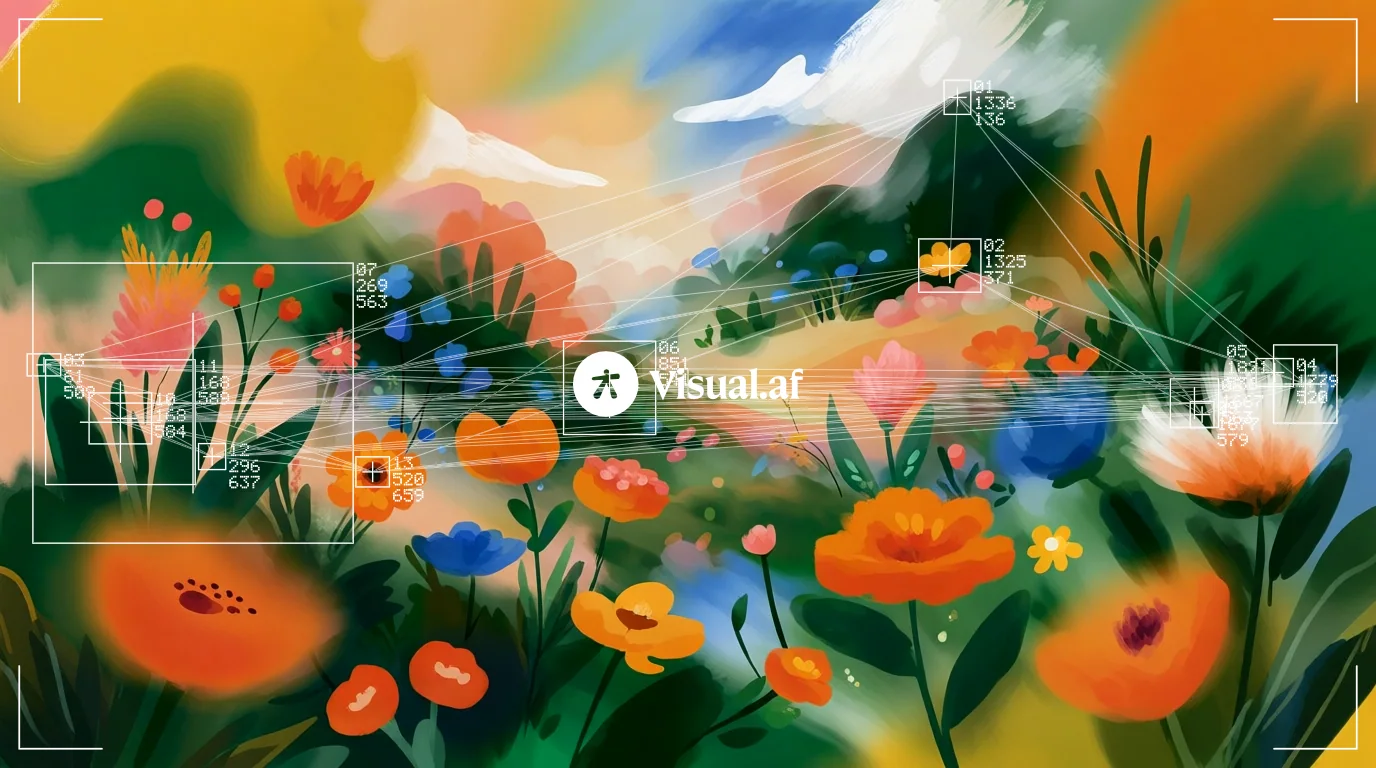
Finds spots in the image (highlights, shadows, detail or color) and marks each one as a tracking system would: a box, corners or a reticle, a cross in the center, a number with its coordinates and lines that join the targets. It marks where the image stands out, not what it shows: it does not recognize objects or people.
Filter Gallery
Blob Tracking is part of Filter Gallery, a plugin with 30 effects in one window inside Affinity. It’s a free download with CRT, ASCII, Dithering, Beads, Knit and Bricks, and a USD $12 license unlocks Blob Tracking and the rest.
Also for Windows · 2.4 MBAlso for Mac · 2.6 MB
See all 30 effects
 BeforeAfter
Pick one in the Filter Gallery window and adjust it from there. Every control can still be changed.
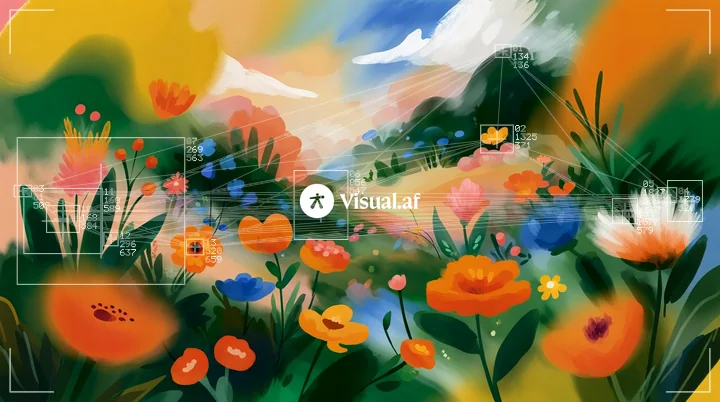
Thin white boxes with a center cross, number and coordinates on the areas with the most detail, all joined to all, inside a viewfinder frame.
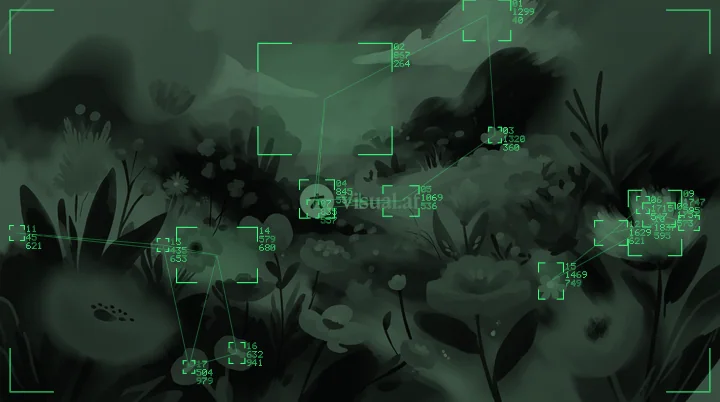
Green corners with a light veil on the highlights, over the image darkened and tinted green, each target joined to its nearest ones.
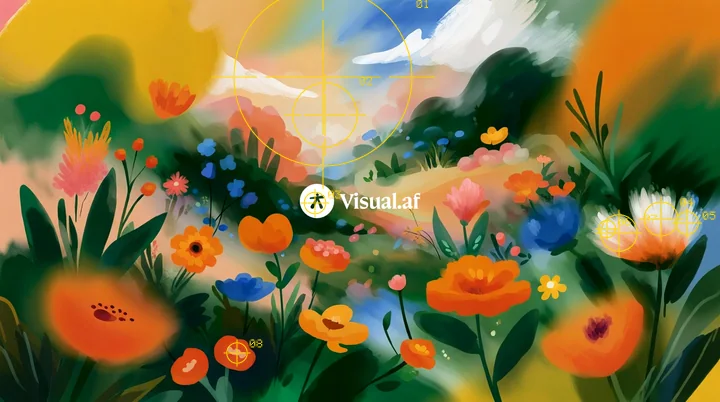
A few large yellow reticles on the highlights, with a center cross and just the number, without links or frame.
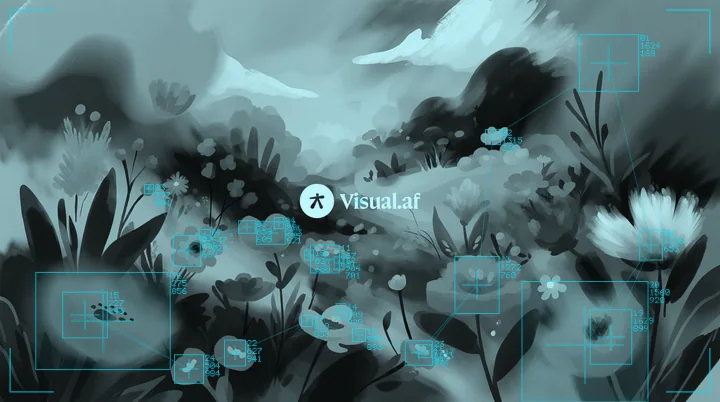
Many small cyan boxes on the most saturated colors, over the image in grays with a touch of cyan.
Default’s marks without the image: just the lines over transparency, to place over any layer.
They have the same names as in the Filter Gallery window.
Filter Gallery
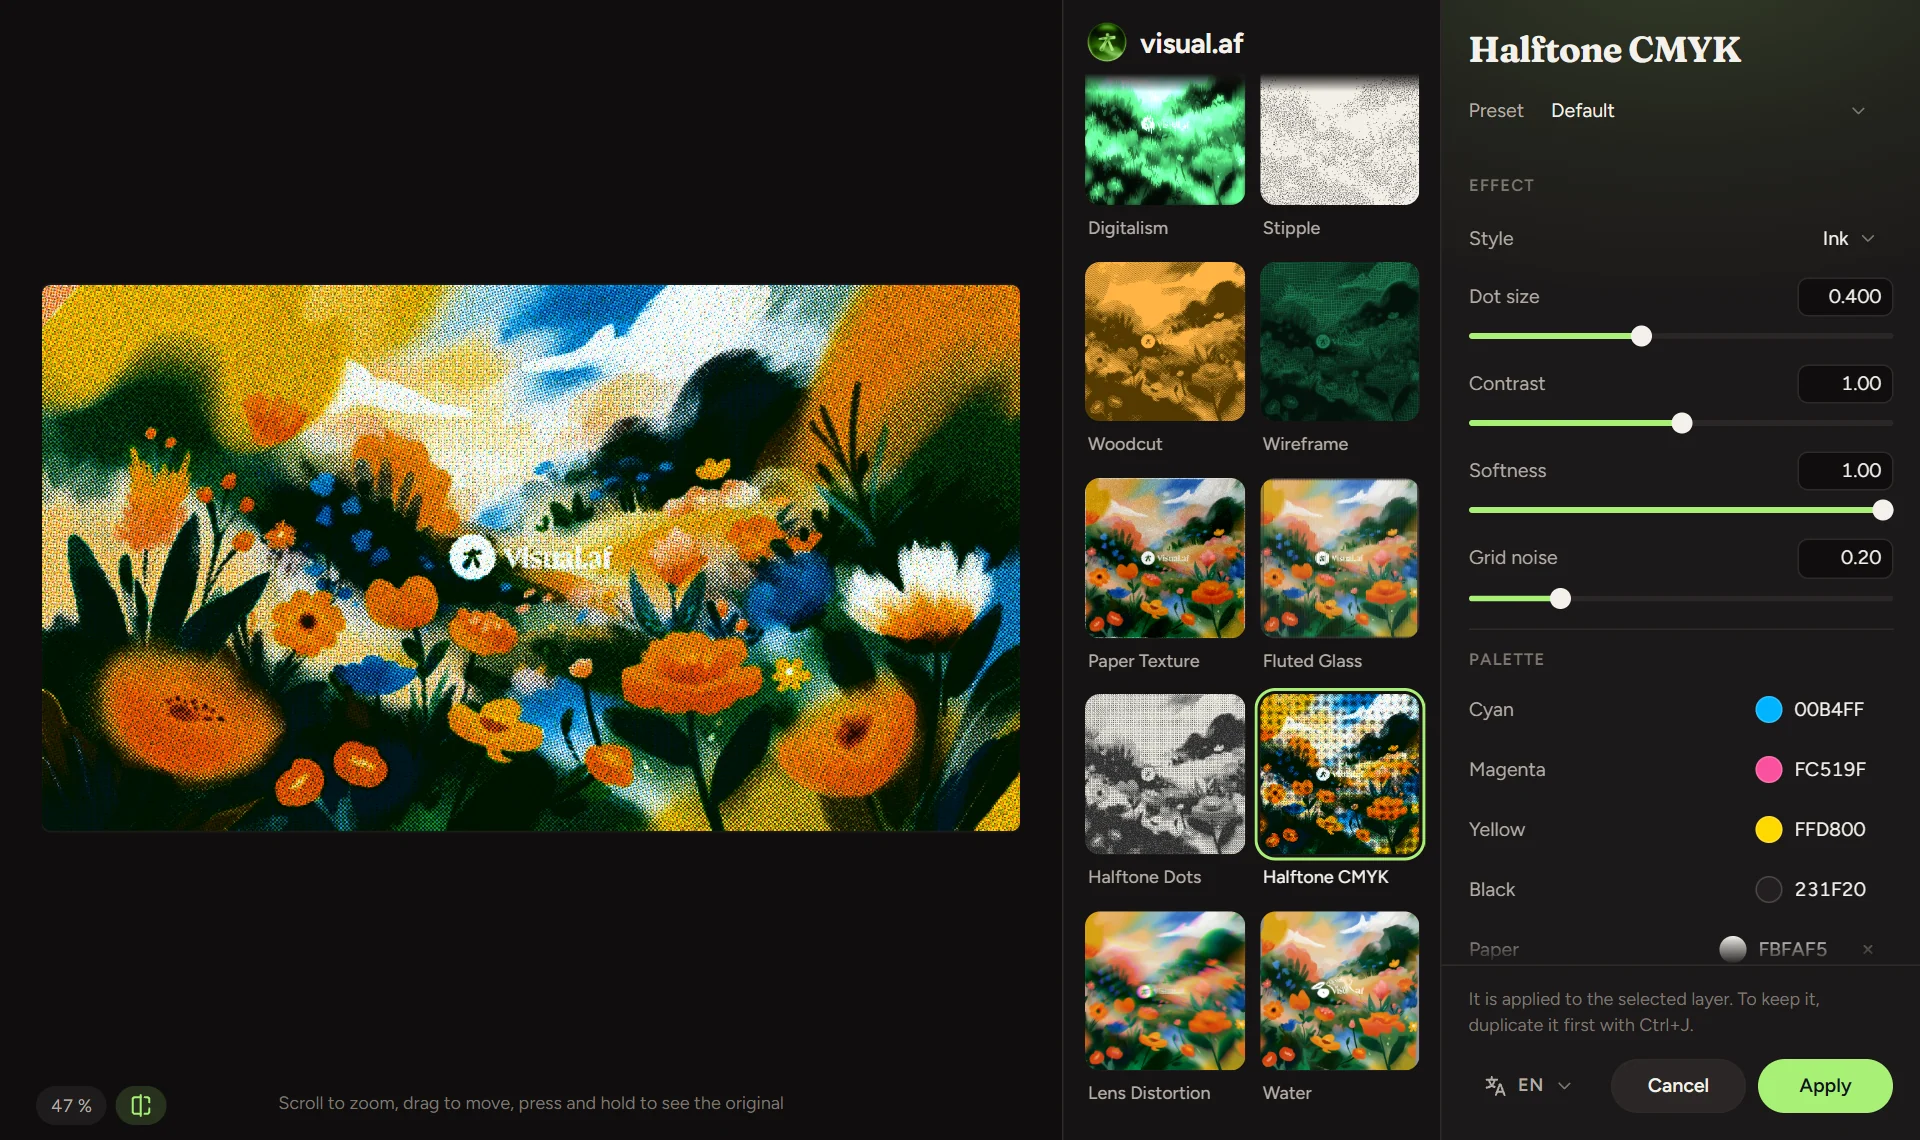
Filter Gallery is a plugin with the 30 Visual.af effects in a single window. You choose by looking at thumbnails of your layer, adjust with a live preview and compare before and after, then apply.
Installation
The installer copies the plugin into the Affinity plugins folder and turns on the setting Affinity needs to load it.
Download FilterGallery-Setup.exe. It doesn’t need administrator permissions.
Click “OK”: it copies Filter Gallery into Affinity and turns on “Allow "Unknown" plugins to be used”, which Affinity needs. If Windows shows “Windows protected your PC”, click “More info” and then “Run anyway”.
Choose Filters › Plugins › Visual.af › Filter Gallery with a pixel layer selected. The effect is applied to that layer, so duplicate it first with Ctrl+J if you want to keep it.
Download FilterGallery-Setup.pkg. It doesn’t need administrator permissions.
Click “Continue” and then “Install”. It copies Filter Gallery into Affinity and turns on “Allow "Unknown" plugins to be used”, which Affinity on Mac needs.
Select a pixel layer and choose Pixel › Filters › Plugins › Visual.af › Filter Gallery. The effect is applied to that layer, so duplicate it first with ⌘J if you want to keep it.
Yes. Download the Mac installer (FilterGallery-Setup.pkg): it works with Affinity 3 on Macs with Apple Silicon or Intel. The installer is signed and notarized by Apple, so it opens without warnings.
It can happen. Because Filter Gallery is new, Windows SmartScreen doesn’t know the installer yet and may show “Windows protected your PC”. It is 100% safe: click “More info” and then “Run anyway”.
Go to Settings › Photoshop Plugins, turn on “Allow "Unknown" plugins to be used” and restart Affinity. Also select a pixel layer before you open the Plugins menu: the filter only works on a selected pixel layer.
Affinity 3, on Windows 10 or 11 or on a Mac.
Like every filter in Affinity, it works on pixel layers. To apply an effect to text, vectors or a group, duplicate it and turn the copy into pixels first (rasterize it).
No. Like every filter in Affinity, the effect is applied to the selected layer. Duplicate it first with Ctrl+J (⌘J on a Mac) if you want to keep the original, or undo with Ctrl+Z (⌘Z).
On three. If you change computers, you can free one up from the window itself with your purchase email.
Only to activate the license and check for updates. The effects are calculated on your computer and your images never leave it. Offline, the license keeps working for 14 days.
When there’s a new version, the window shows a notice with an “Update” button. Affinity uses the new version the next time it starts.
Turns any layer into a tube screen: curvature, RGB phosphors, scanlines and bloom.
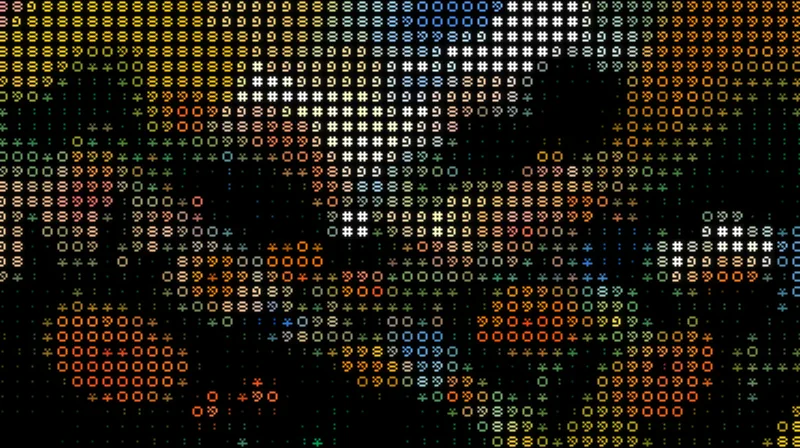
Turns your images into art made of characters, in their original colors or a single ink, with a transparent background.
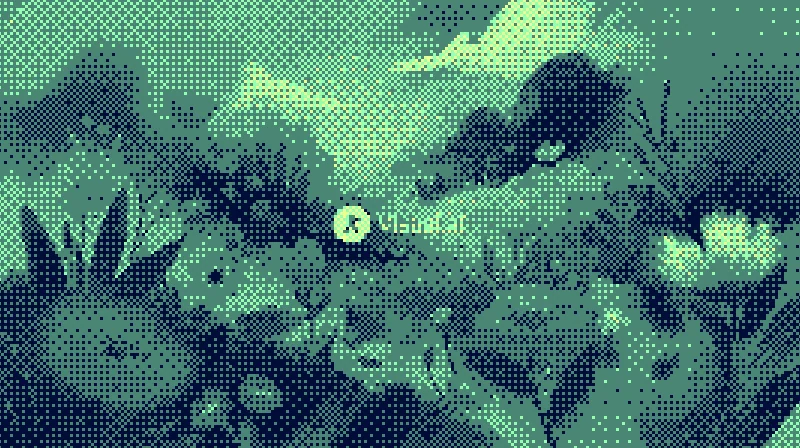
Dithers your images with Bayer matrices or random noise, in the original colors or your own palette.
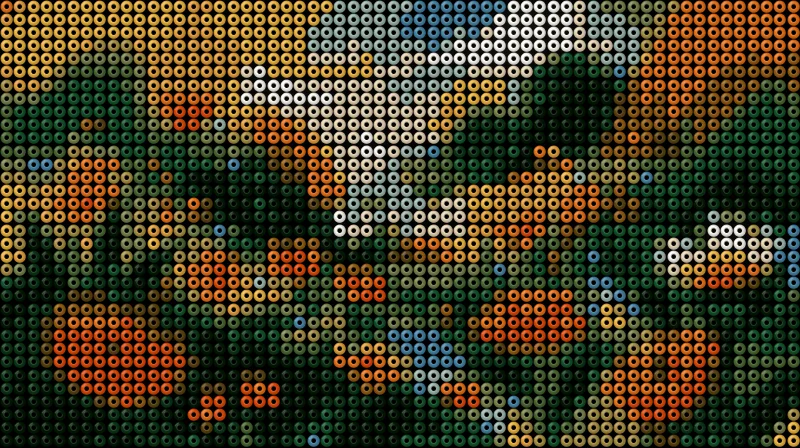
Build hama bead designs from your images: beads with volume, an adjustable hole and a colored pegboard.
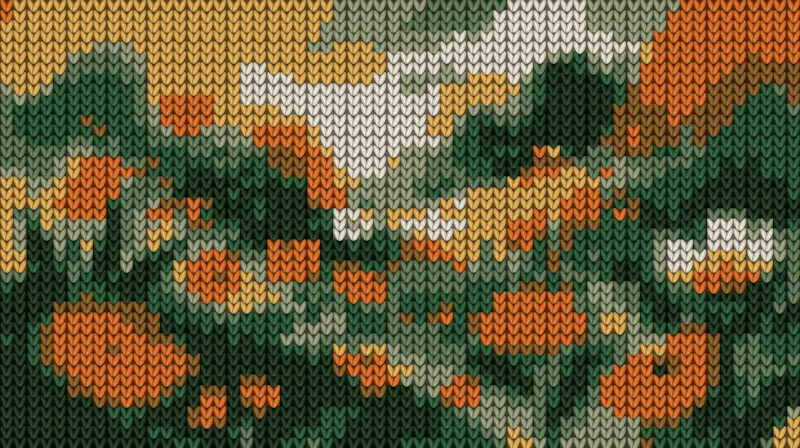
Turns your images into knitted fabric, with V-shaped stitches, relief and a palette of a few colors.
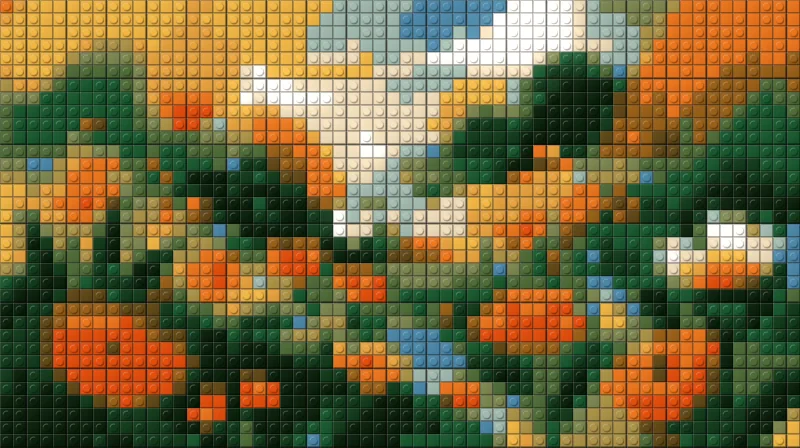
Turns your images into a mosaic of building bricks, with flat or studded pieces.
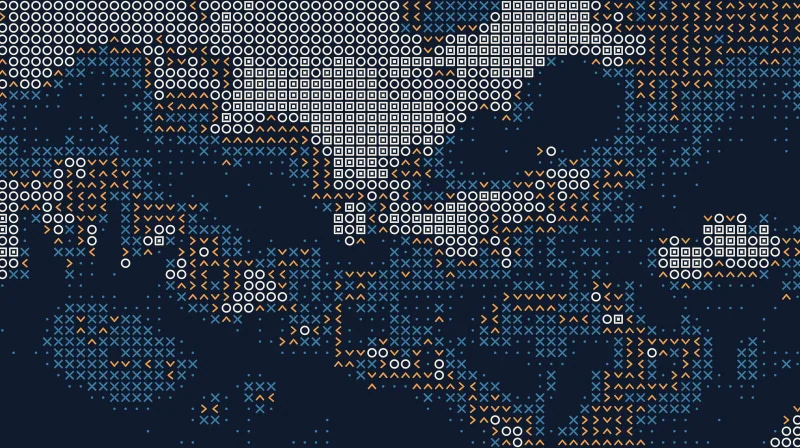
Your image as a grid of dots, crosses, rings and squares picked by its tone.
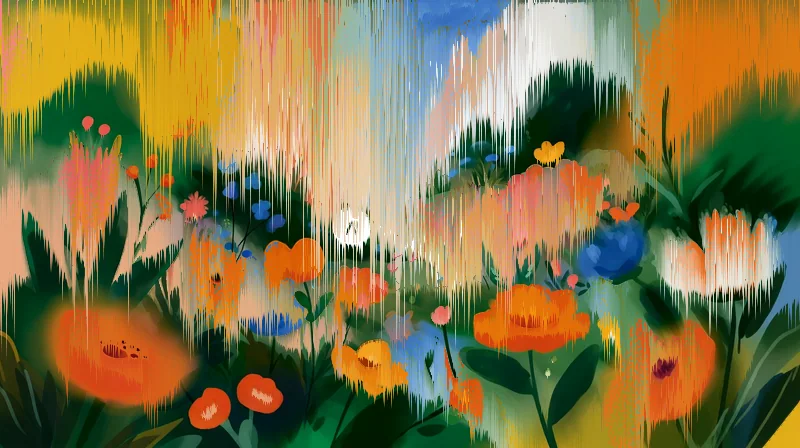
The colors of your image run in streaks like melted paint.
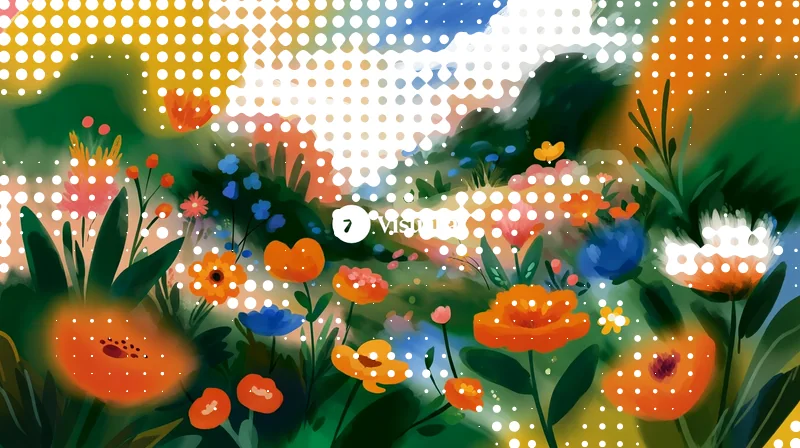
Dots that grow in the tones you choose and merge like drops.
Your image printed in up to three overprinted inks, with grain and misregistration, like a riso print.
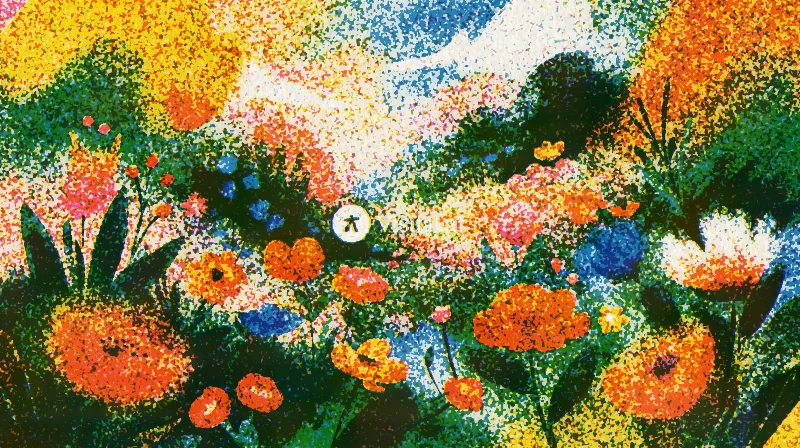
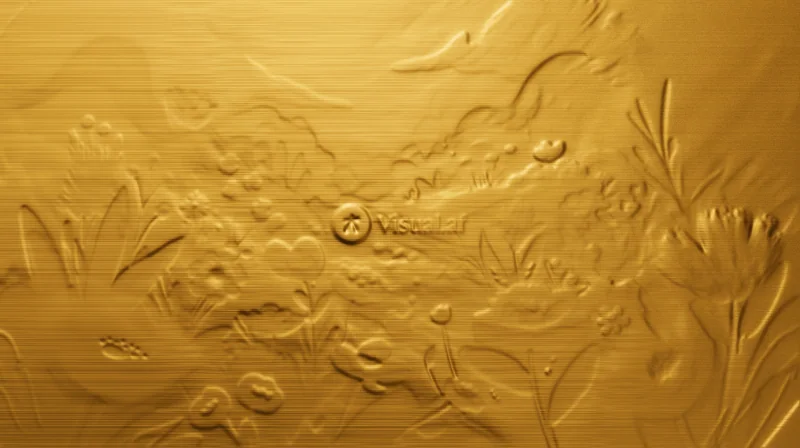
Your image embossed in gold, silver or copper, or stamped in foil on paper.
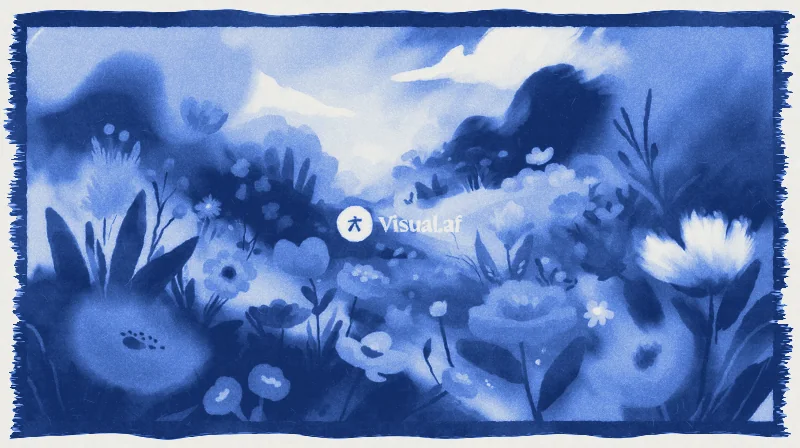
Your image as a cyanotype: Prussian blue on watercolor paper, with a brushed border.
Your image as a thermal camera would see it, in six heat palettes.
Your image stretched out from a sharp center, with rainbow fringes toward the edges.
A deep glow around the highlights of your image, intense up close and soft in the distance.
Lines of ink that bleed into the paper, with 1 to 3 inks, overprint and misregistration.
Turns your images into a hologram of lines that rise with brightness, with glow and interference.
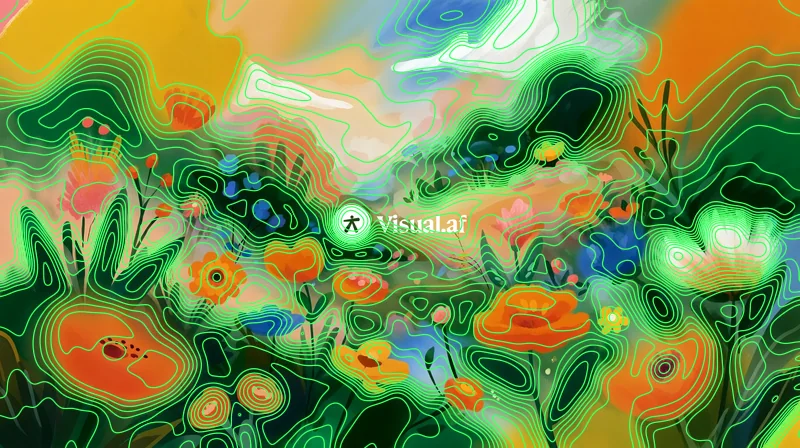
Contour lines over your image, like a topographic map of its brightness.
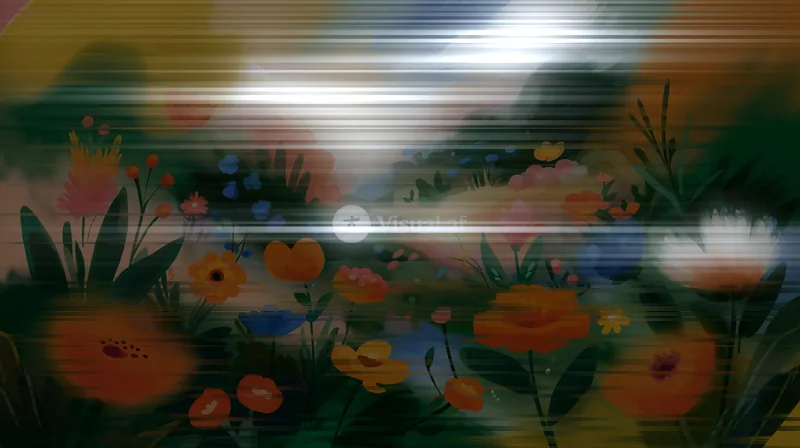
Glow, a streak that drags the lights and fine stars on the brightest parts of your image.
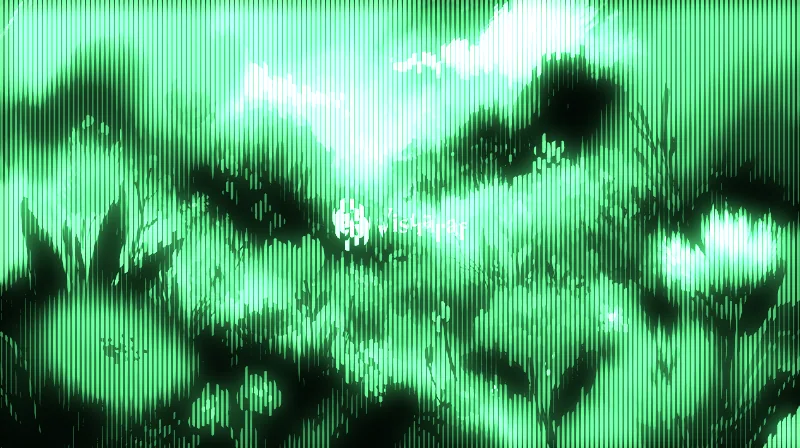
A phosphor screen of vertical lines that thicken with brightness, with glow.
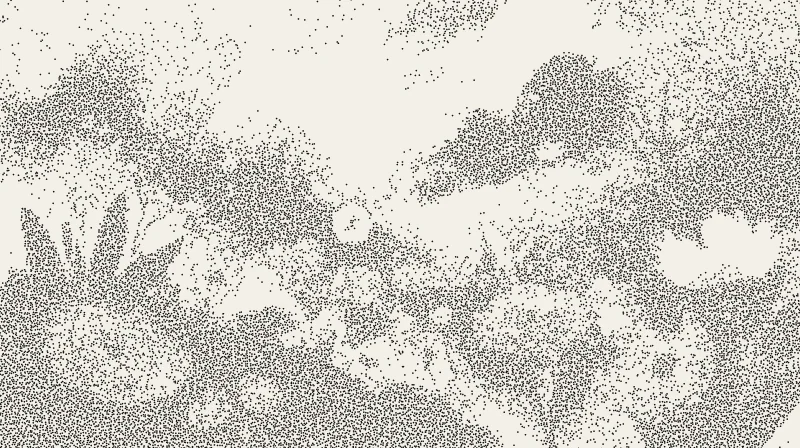
Your image drawn with loose ink dots, closer together in the shadows.
Your image carved in wood: solid ink, parallel strokes and cross-hatching.
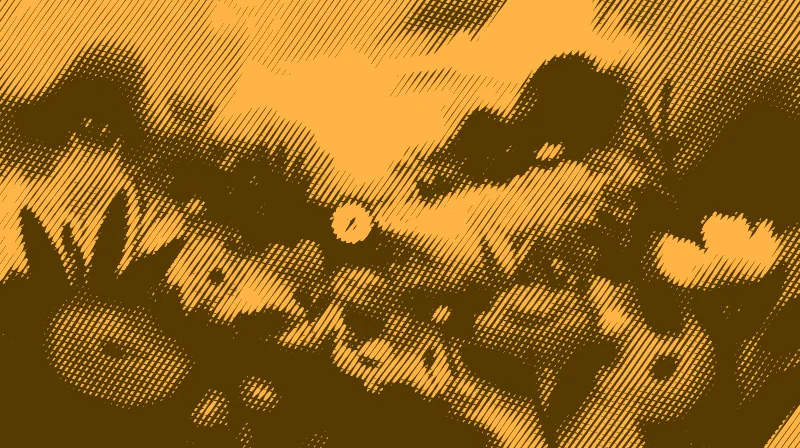
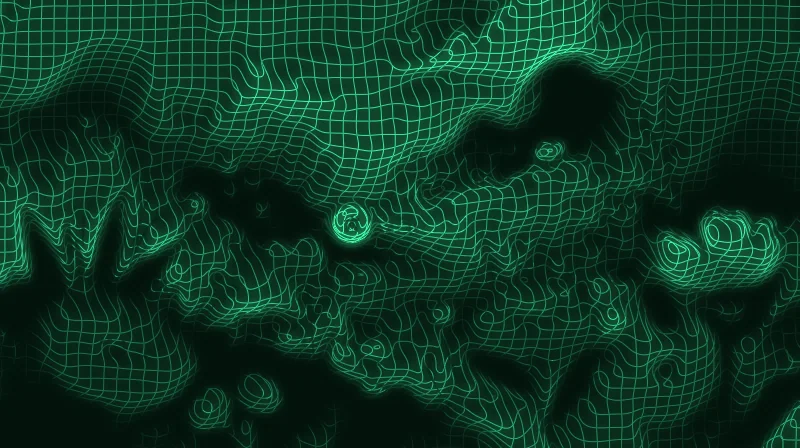
A glowing wire mesh that bends with the brightness of your image.
Fibers, crumples and folds of paper over your image.
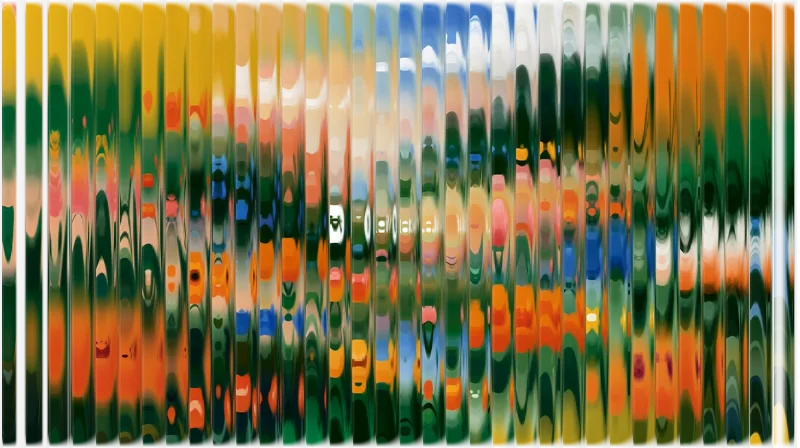
Your image seen through ribbed glass.
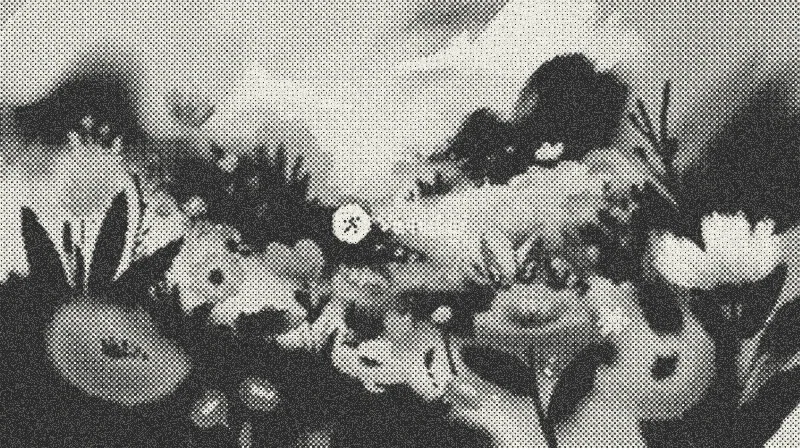
A grid of dots that grow with the shadows, like a printed photo.
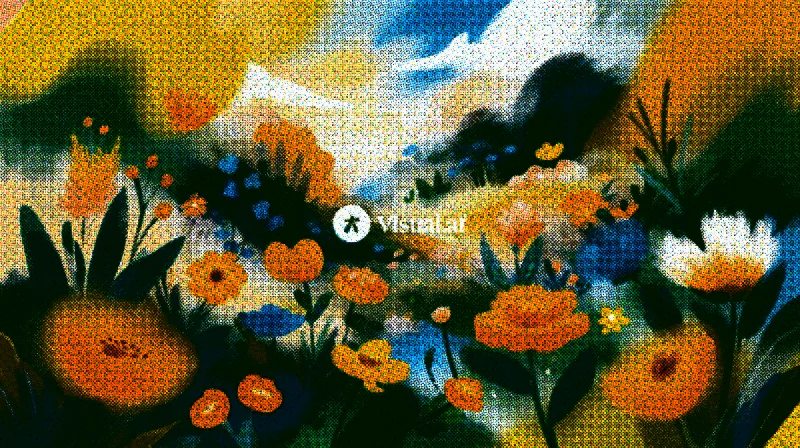
Your image printed in four inks, with dots of cyan, magenta, yellow and black.
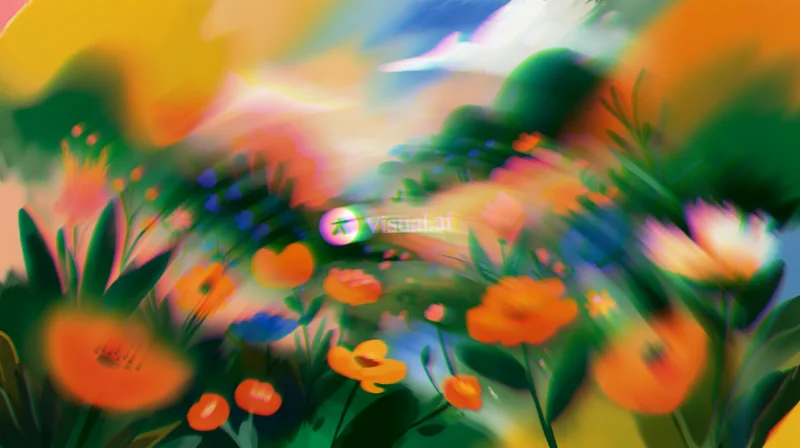
Your image through a lens that bends it, with the colors split at the edges.
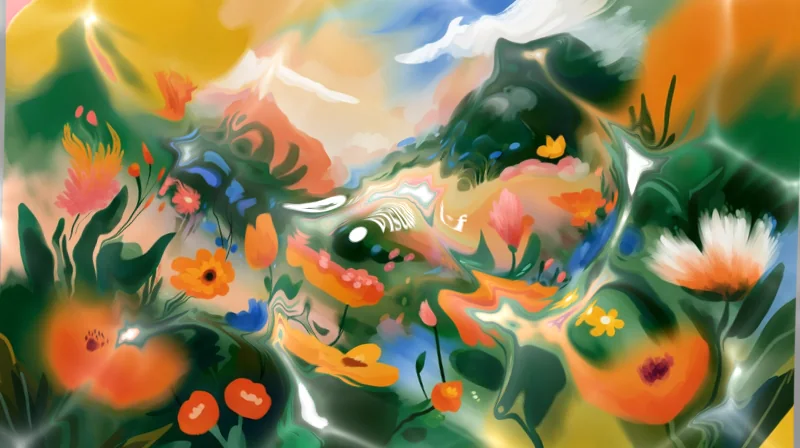
Your image under water, with waves and caustic light.